Final Week Optional Art Fun! 6/8 through 6/10
We are so proud of all of you that continued to express yourselves and create art throughout your distance learning! Great job! This week you can choose to either complete one of the projects you may have missed over the last 7 weeks or check out some of these fun YouTube lessons!
Check back with us on the student work section of this website, over the next week, for more of your digital artwork displays. Have a fun and creative last week of school and an awesome summer! We can't wait to start exploring art concepts with you again next year!
Check back with us on the student work section of this website, over the next week, for more of your digital artwork displays. Have a fun and creative last week of school and an awesome summer! We can't wait to start exploring art concepts with you again next year!
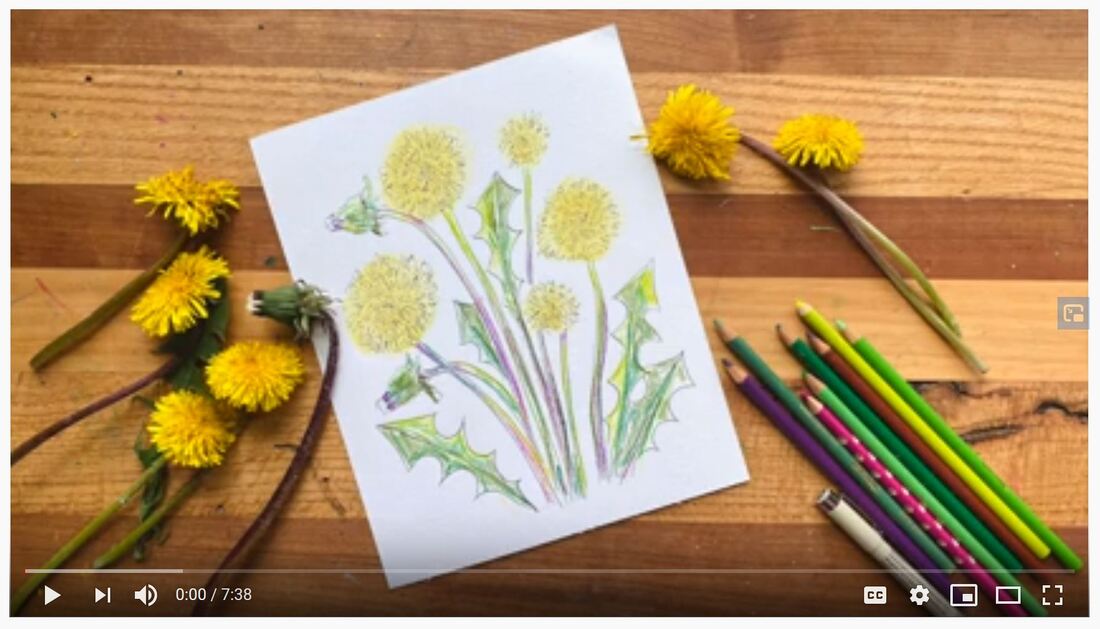
Art Room Glitter Fairy - Dandelion Squish Art Hub For Kids - Ice Cream Surprise
|
|
Art Project For - 6/1 through 6/5
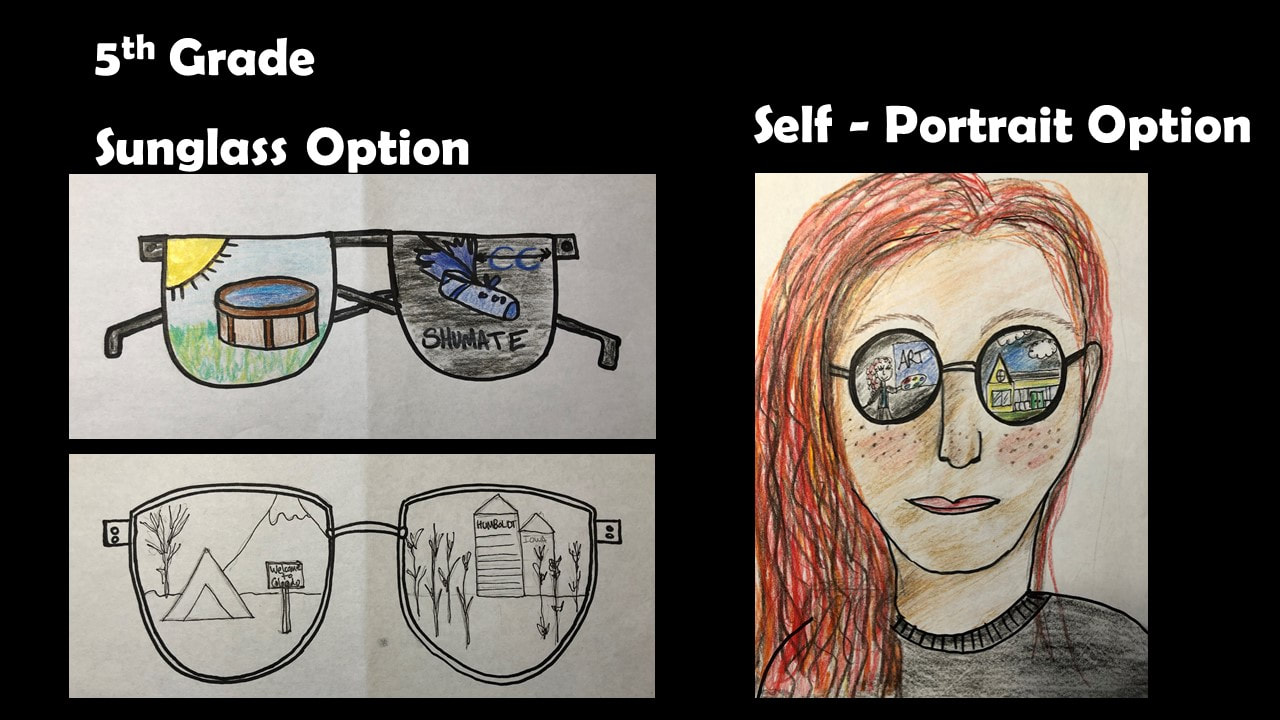
This week, you will be creating an artwork with personal meaning. We want you to think about your goals and dreams for your near or distant future.
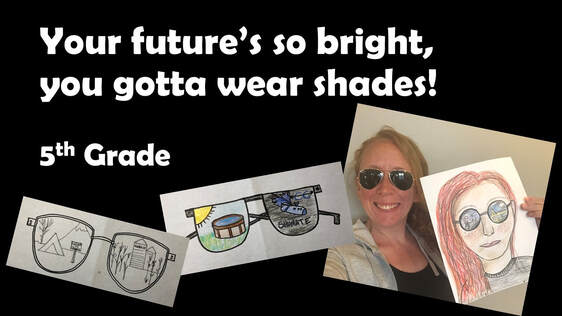
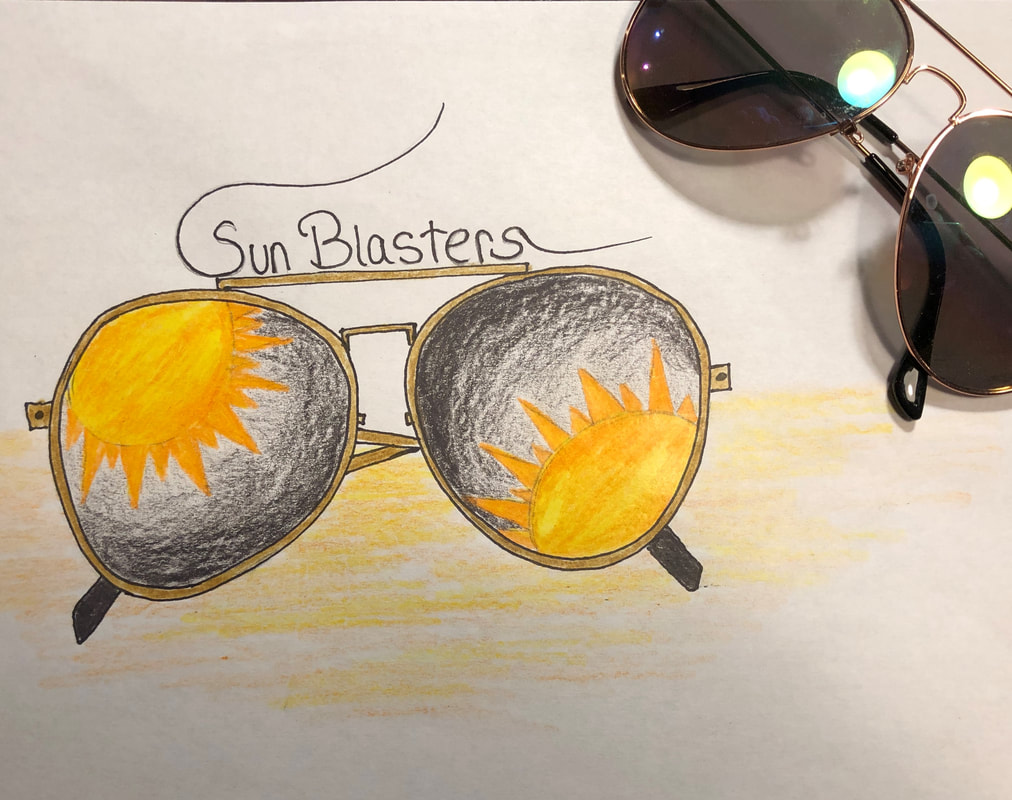
5th grade you have two choices. Students will either draw sunglasses or a portrait wearing sunglasses and then show the reflection of something they want to do this summer, a goal for the summer, or something they are looking forward to for 6th grade. Check out the 5th Grade video below on how to create your drawings.
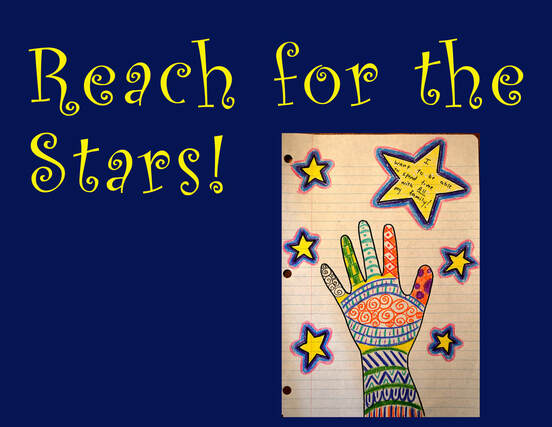
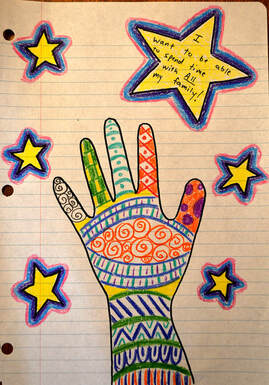
4th grade you will be tracing your hand and decorating it. You will also tell us what you really want to do over the summer.
Watch the videos below to learn about how to do the project You will have so many opportunities to be creative with this project. Please send us a picture of your project!
5th grade you have two choices. Students will either draw sunglasses or a portrait wearing sunglasses and then show the reflection of something they want to do this summer, a goal for the summer, or something they are looking forward to for 6th grade. Check out the 5th Grade video below on how to create your drawings.
4th grade you will be tracing your hand and decorating it. You will also tell us what you really want to do over the summer.
Watch the videos below to learn about how to do the project You will have so many opportunities to be creative with this project. Please send us a picture of your project!
K - 4th Grade Video
5th Grade Video
Your Challenge
1. Watch our instructional videos above. The videos will show you examples of the project and how to create your project for this week.
2. Gather your materials. You will need paper, a pencil, and something to color with. You can use crayons, colored pencil, marker or pen.
3. Complete your drawings doing your best work.
4. Feel free to email pictures to [email protected] or [email protected].
Have fun creating your project this week. We can't wait to see them!
Examples:
|
|
4th & 5th Grade - Quilt Square - 5/25 through 5/29
(Note for Weiss Elementary 5th Grade Students - We would like all students to participate in the quilt square project. However, we know this was supposed to be your Chicago week. If you have extra time please check out some fun Chicago information below the quilt square project.)
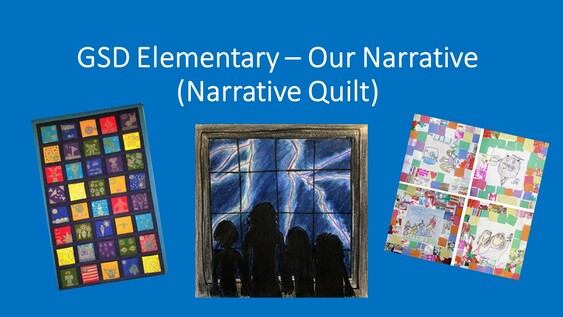
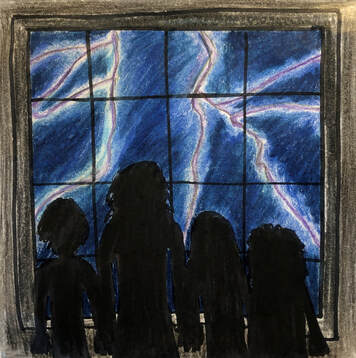
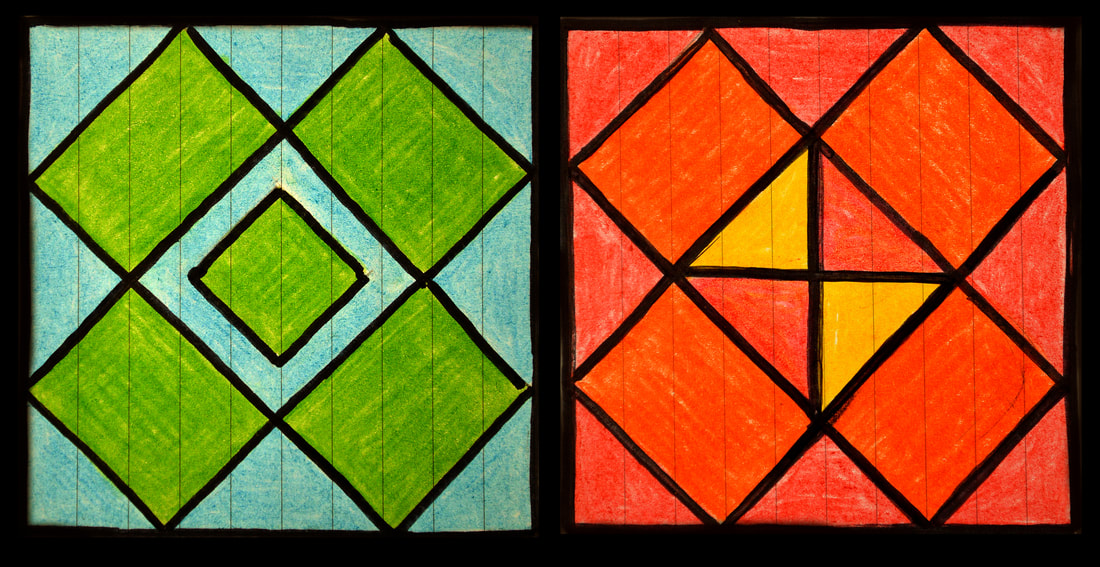
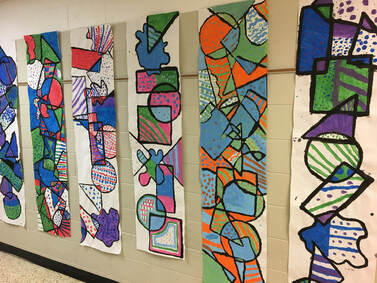
For this week, you will be doing a virtual quilt. Each of you will make your own quilt square. You can choose to make a traditional quilt square that is made of patterns or you can make a personal narrative square. A personal narrative is a picture that tells a personal story. Watch the videos below to learn about how to make a personal narrative square or traditional quilt patterns. You will have so many opportunities to be creative with this project. Please send us a picture of your square so that we can arrange all of your squares into one or two digital quilts to display for everyone to see!
Narrative Quilt Square Video
Pattern Quilt Square Video
Your Challenge
1. Watch our instructional videos above. The videos will show you examples of the project and how to create your quilt square. You can choose to do the personal narrative or the pattern quilt square. Maybe even do both!
2. Gather your materials. You will need paper, a pencil, a ruler or something square to trace, and something to color with. You can use crayons, colored pencil, marker or pen.
3. Watch the video below to get some tips on how to take a good picture of your work.
4. Feel free to email pictures to [email protected] or [email protected].
Have fun creating your quilt square. We can't wait to see them!
Examples:
|
|
Weiss 5th Grade - Chicago Week
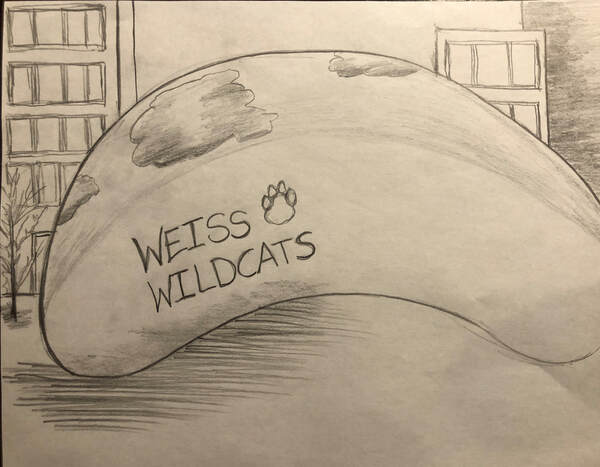
It's Chicago week! We know you are missing your Chicago trip this week so we wanted to share some information on a popular public art piece in Chicago. Cloud Gate, referred to by many as The Bean.
Check out the interview with the artist, Anish Kapoor, who created the bean below.
Check out the interview with the artist, Anish Kapoor, who created the bean below.
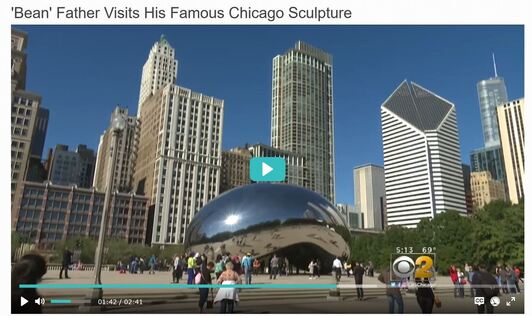
If you would like to create a Chicago themed art project this week. We would like you to imagine you are visiting Cloud Gate. If you were there, what photos would you snap? Would you take a selfie? Would you put your feet on the bean and look up at your reflection? Maybe you want to see a reflection of you and your friends.
For your project, draw a picture of the bean and on your drawing, draw in what you would want to see reflected in the bean.
Example:
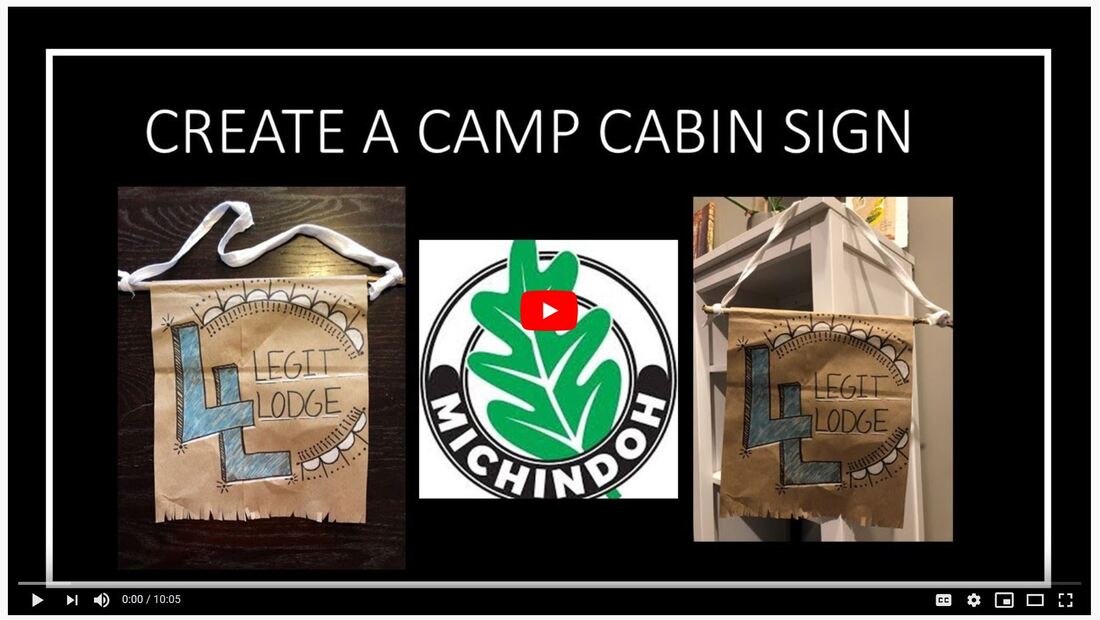
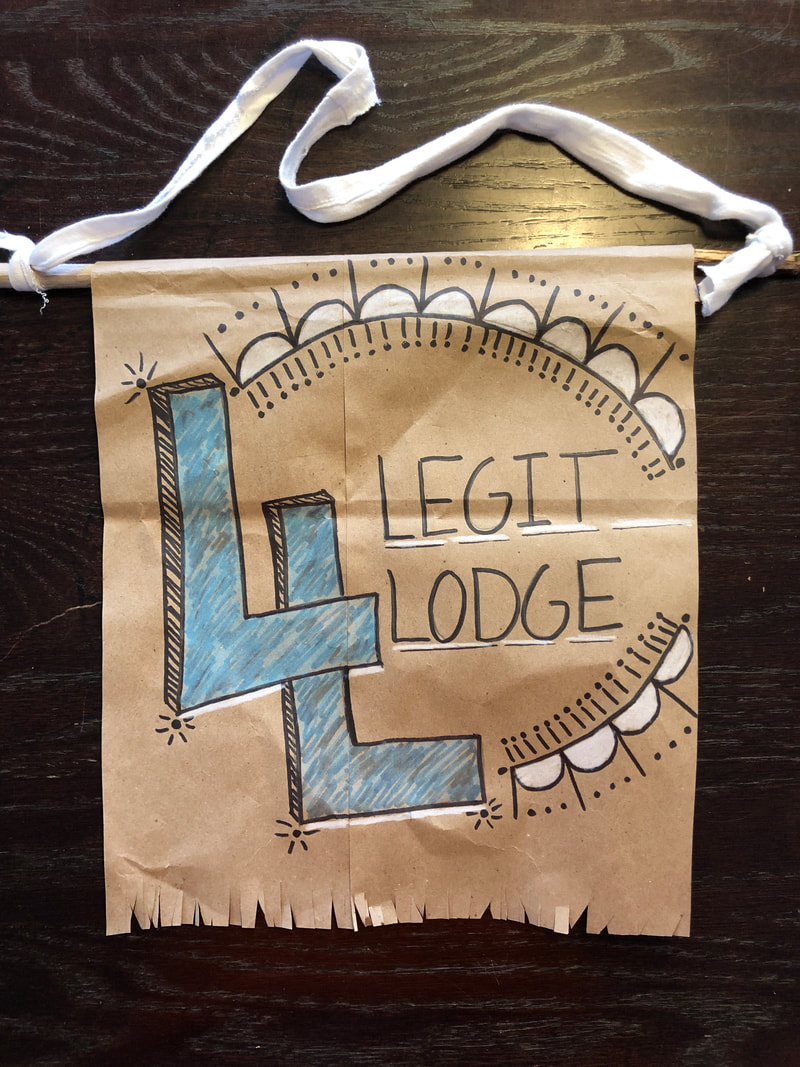
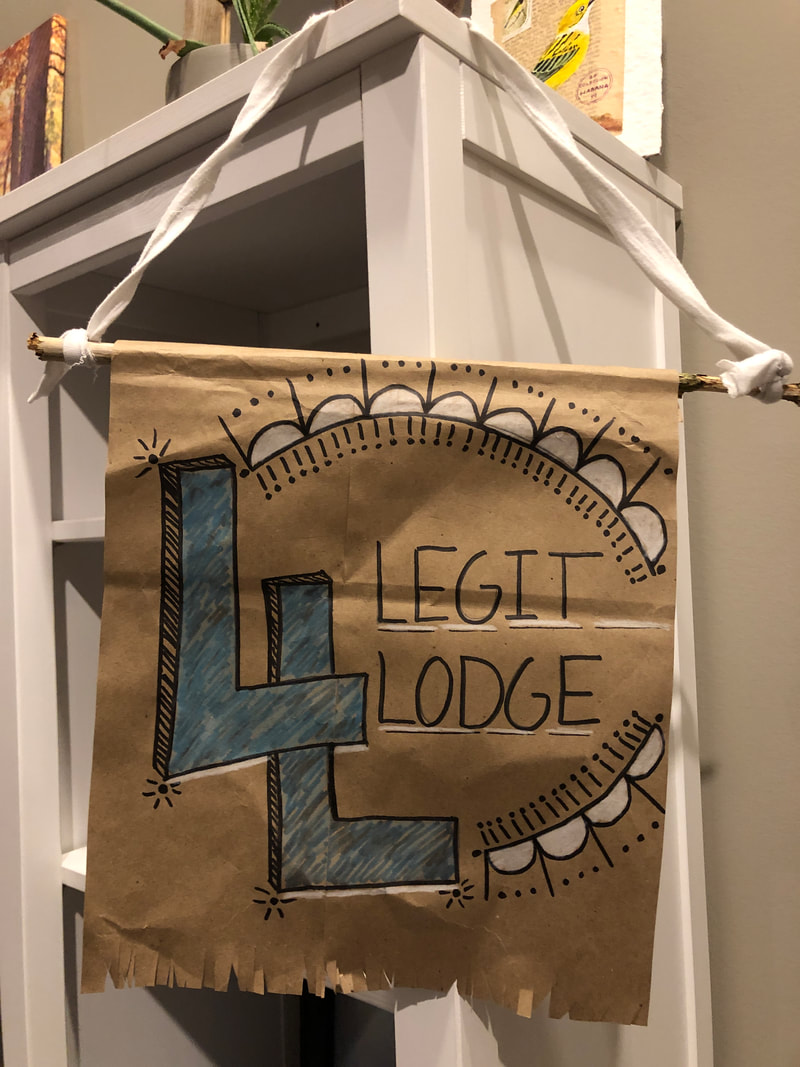
Create a Camp Sign - 5th Grade - 5/18 through 5/22
(4th grade & Non-Campers please scroll down for assignment)
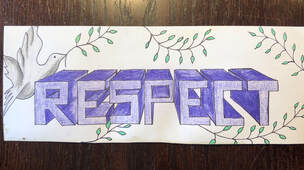
It's camp week! This week we will be exploring graphic design rules and tools to create an awesome sign to hang outside your at home campsite! Have fun!
Your Challenge
1. Watch our instructional video above. The video will show you examples of the project and how to create your project.
2. Collect your supplies!
3. Create your camp sign!
4. Enjoy your week at camp! We would love to see pictures of your signs! Feel free to email pictures to [email protected] or [email protected].
Have fun creating your sign and camping!
Examples:
|
|
Create a New Logo- 4th Grade - 5/18 through 5/22
(Non 5th Grade Campers please use this project!)
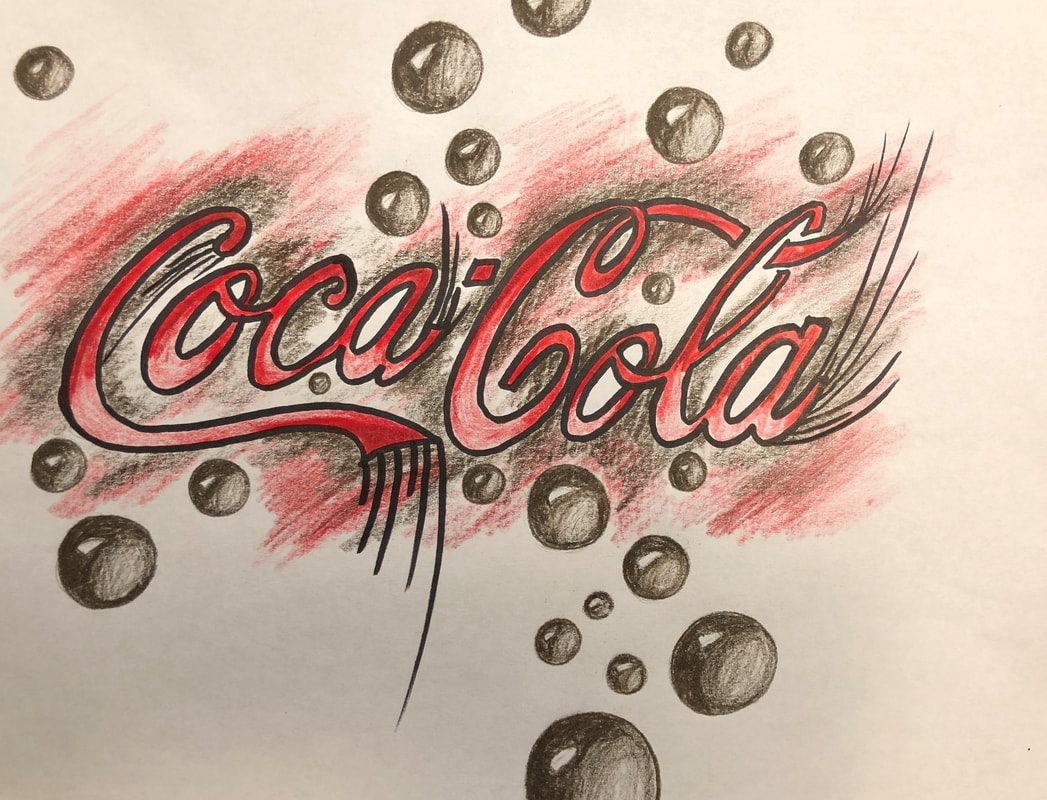
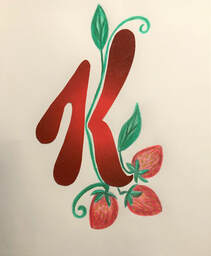
This week we will be exploring graphic design rules and tools to create a new logo. You can choose to modify a logo that already exists, create a new logo for a product you love, or create a logo for an object in your home.
Get creative and put some thought into how you can capture an audience with a super awesome logo!
Get creative and put some thought into how you can capture an audience with a super awesome logo!
Your Challenge
1. Watch our instructional video above. Listen to the graphic design tools and rules! The video will show you examples of the project and how to create your project.
2. Collect your supplies!
3. Create your new logo!
4. Enjoy creating and feel free to think outside the box! Your logo can be totally different from a products original logo. We would love to see pictures of your creations! Feel free to email pictures to [email protected] or [email protected].
Have fun creating your logo!
Examples:
|
|
|
Visual Textures - 5/11 through 5/15
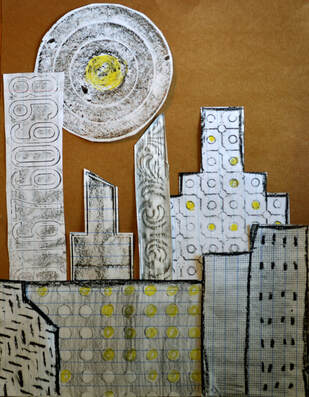
This week we will be creating our art project using visual textures. To create our visual textures we will use the technique of texture rubbings. Visual texture is a very important part of art making. It allows artists to make their pictures more dynamic.
We will also be using the collage technique to make our art. Collage is where you glue separate pieces of paper down on to a new paper to create the image.
We will also be using the collage technique to make our art. Collage is where you glue separate pieces of paper down on to a new paper to create the image.
Your Challenge
1. Watch our instructional video below. The video will show you examples of the project and how to create your project.
2. Collect items from your home that you think will make cool texture rubbings. You will need paper and pencil, crayon or colored pencil for this project.
3. Create your rubbings by rubbing the crayon or pencil gently across the texture of the object you chose.
4. Cut your texture rubbings into building shapes and arrange them on a new piece of paper. You can glue or tape the buildings down or just arrange them and take a picture of that.
5. If you would like your art to be part of our artwork display please email pictures to [email protected] or [email protected].
Have fun creating your texture art!
Texture Instructional Video
Example:
|
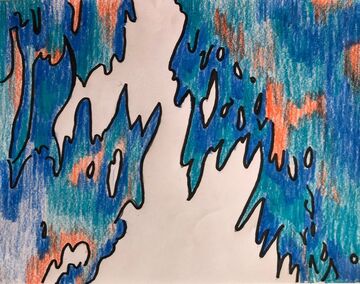
Shadow Art - 5/4 through 5/8
This week we will be making art using shadows. This week you have two options to choose from or you can do both! As always you can be creative on how you make your art. I'm always so impressed with how creative students can be when interpreting the art assignments. Option one was uses shadows to make a drawing. You can use objects you have inside your home or you can use things you find outside. Outside you can use the sun, keeping in mind that the shadow cast from the sun will change throughout the day. Inside you will need to use a lamp, a flashlight, a cell phone or tablet flashlight, a desk lamp or table lamp. You may need to prop objects up on boxes or books to get the desired cast shadow. Lastly you will need to select items from around your house, either toys or simple household items that you think make an interesting shadow to trace.
Option 1: For this option you can watch this video and follow the directions on how to make silhouette art.
1. Watch our instructional video below. The video shows examples and explains how to do the project. If you are having sound issues, please make sure that your volume is turned up on your computer as well as in the Safe YouTube app.
2. Create a picture frame using paper or recycle using empty cereal boxes or whatever you can find. The video shows you how to make a frame.
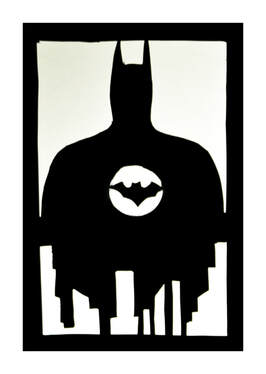
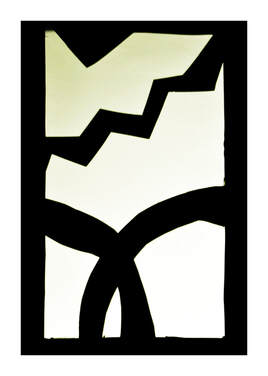
3. Create your silhouette using paper or recycle using empty cereal boxes. You can make an abstract picture or you can make something realistic. The video will show you how to make an abstract or realistic silhouette. (You might not be able to take a good quality photo of your silhouette. That's OK, share it with us anyway!)
5. If you would like your art to be part of our artwork display please email pictures to [email protected] or [email protected].
Have fun creating your shadow art!
1. Watch our instructional video below. The video shows examples and explains how to do the project. If you are having sound issues, please make sure that your volume is turned up on your computer as well as in the Safe YouTube app.
2. Create a picture frame using paper or recycle using empty cereal boxes or whatever you can find. The video shows you how to make a frame.
3. Create your silhouette using paper or recycle using empty cereal boxes. You can make an abstract picture or you can make something realistic. The video will show you how to make an abstract or realistic silhouette. (You might not be able to take a good quality photo of your silhouette. That's OK, share it with us anyway!)
5. If you would like your art to be part of our artwork display please email pictures to [email protected] or [email protected].
Have fun creating your shadow art!
Examples
|
|
Option 2: For this option you can watch this video and follow the directions on how to make shadow art.
1. Watch our instructional video below. The video shows examples and explains how to do the project. There is also a 3 minute video included by shadow artist Vincent Bal. If you are having sound issues, please make sure that your volume is turned up on your computer as well as in the Safe YouTube app.
2. Collect items from your home that you think will make a cool shadow. Option 1 is to use boxes, containers, bottles, regular household items. Option 2 is to use toys that you think make an interesting shadow.
3. Arrange your objects and light source to see if you can create a shadow. Then trace your shadow.
4. Add any details, decoration and color you want to complete your project.
5. If you would like your sculpture to be part of our artwork display please email pictures to [email protected] or [email protected].
Have fun creating your shadow art!
Examples
|
|
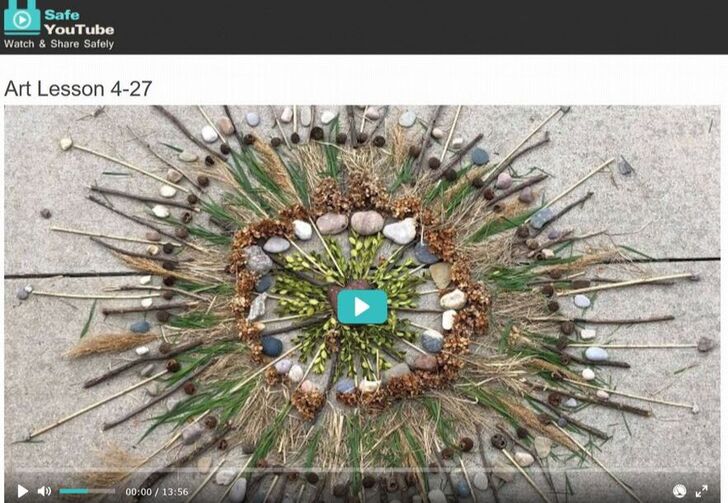
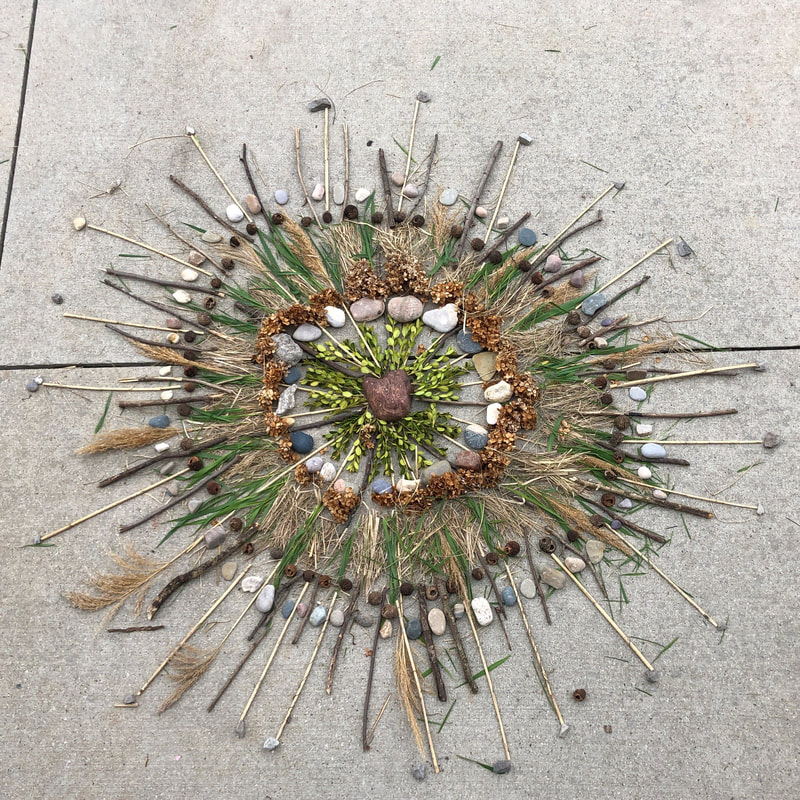
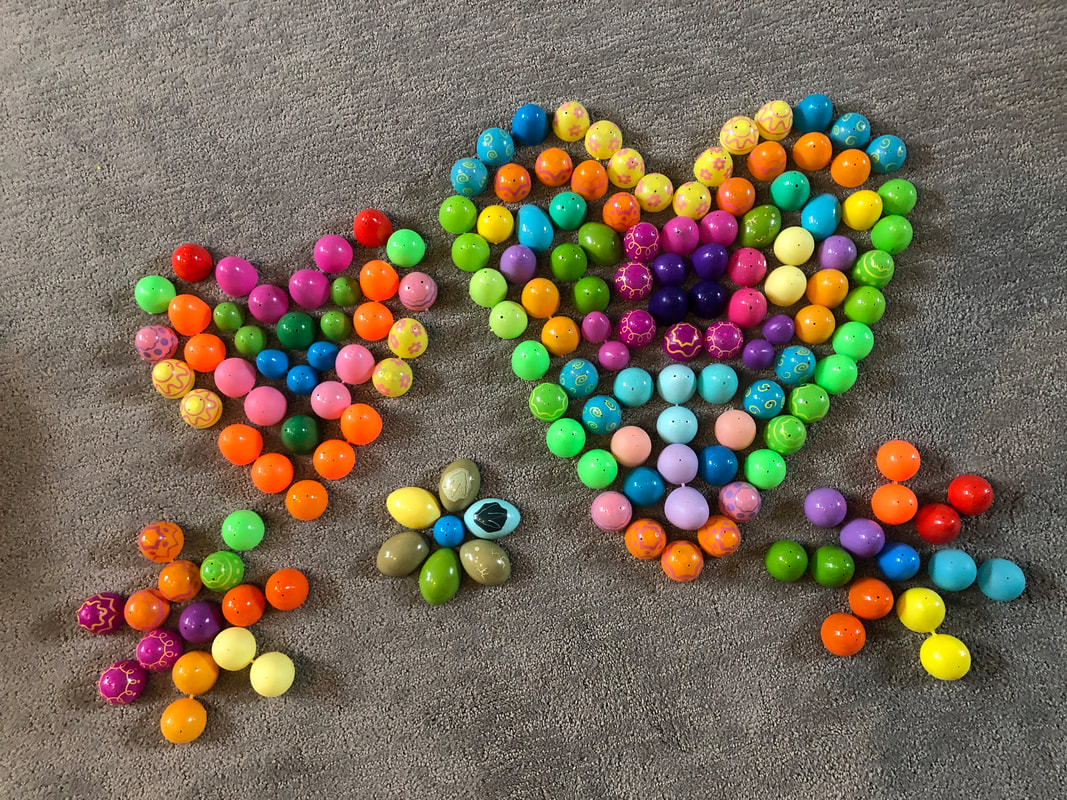
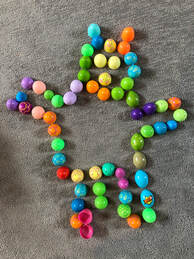
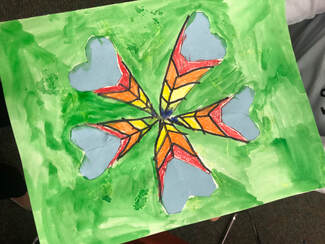
Nature Mandala - 4/27 through 5/1
Inspired by Artist Andy Goldsworthy
This week we will be continuing to celebrate our Earth by heading out into nature. We will be making a mandala out of found objects from nature. Mandalas are a geometric design using radial symmetry to create patterns around the circle. The word mandala actually means circle in the language Sanskrit. Traditional mandala's are created for spiritual ceremonies and focus on meditation. Today, mandalas can be found in many pattern coloring books, on fabric patterns and in artwork.
To create our mandala we are going to focus on the artwork of Andy Goldsworthy. Andy Goldsworthy is a British artist who has focused much of his career on creating natural installations that are specific to the natural location. Many of his sculptures are created using leaves, rocks, branches, sticks, dirt and even ice. His work inspires us look at the world in unique ways.
Your Challenge
1. Watch our instructional video above. The video includes information on Andy Goldsworthy and a creation of a sample project. For those of you who would like to learn more about mandalas, a 4 minute video of monks creating a mandala is at the end of the instruction video.
2. Collect items for your outdoor natural found object mandala. (Please be kind and try to select items that are already fallen from plants. If you are using leaves or flowers please be considerate and not destructive.)
3. Select the location for your mandala and start creating! This is a project the whole family can participate in. If you have younger siblings that want to participate you can work together to create one mandala.
4. If you would like your mandala to be part of our artwork display please email pictures to [email protected] or [email protected].
Have fun and enjoy creating!
Examples
|

|
|
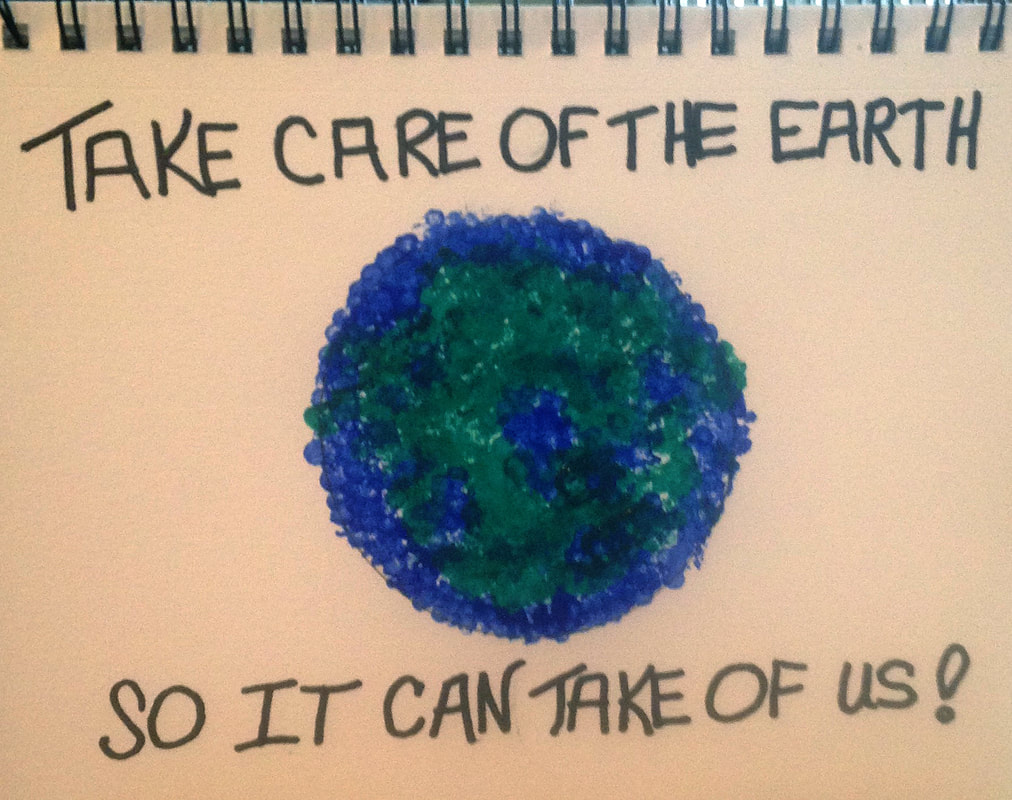
Earth Day - 4/20 through 4/24
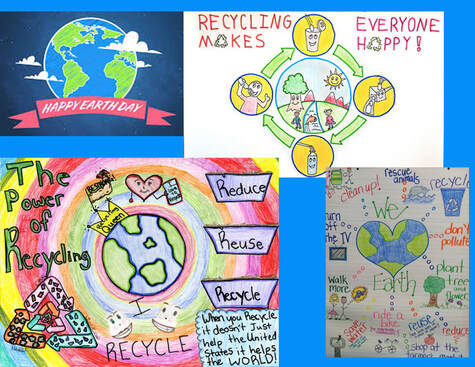
Earth Day is Wednesday, April 22nd. This is perfect time for us to use our art to say something! As artists, we are able to use our art to advocate for the importance of taking care of and protecting our earth.
For this week, you will be making an Earth Day picture. You will have so many choices on what your picture looks like, what your message will be, what materials you use, this is the perfect assignment to be creative with the materials! Up-cycling is where you use something for a different purpose before you recycle it. For example, you could use the back of some mail or a cereal box or anything that you were going to recycle to draw on. Here are some examples of ways you could create your Earth Day picture.
Check out the "Earth Day Lesson" video from us below for information on the project as well as the National Geographic video for inspiration. We would love to see your artwork. You can share with us on our Facebook page or email a picture to us!
Check out the "Earth Day Lesson" video from us below for information on the project as well as the National Geographic video for inspiration. We would love to see your artwork. You can share with us on our Facebook page or email a picture to us!
Examples
|
|
|
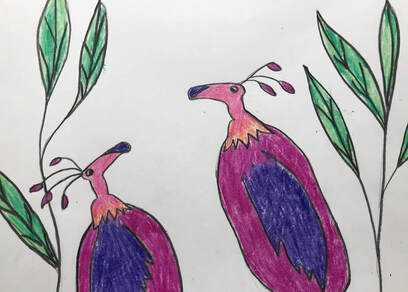
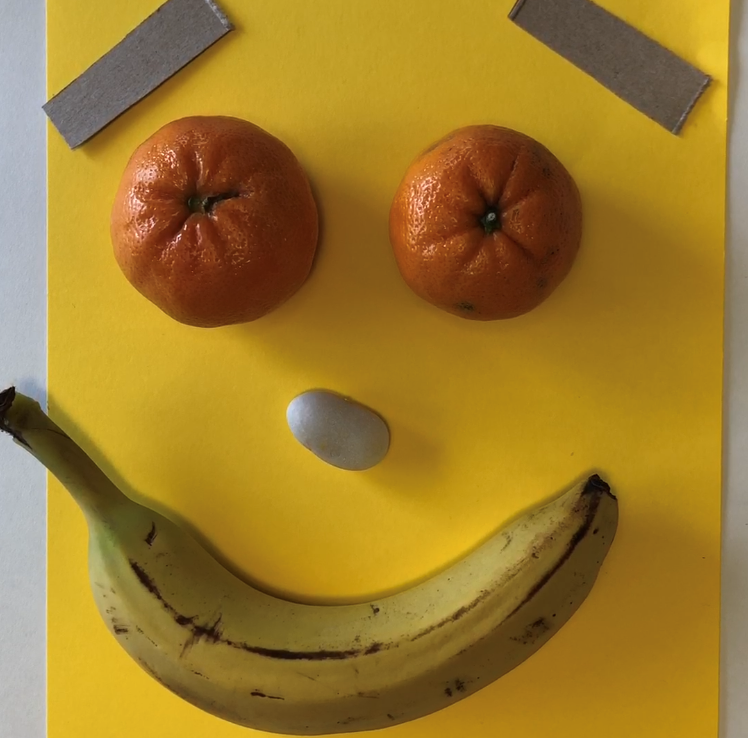
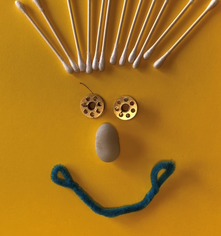
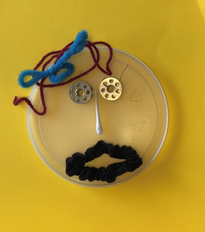
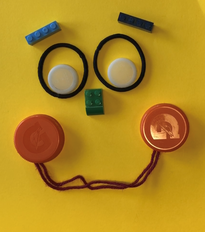
Found Object Faces - 4/13 through 4/17
Welcome back art students! We hope you enjoyed your spring break. This week all Gibraltar teachers will be attending virtual trainings sessions to prepare a distance learning plan.
In the meantime we wanted to provide you with another fun and informative art activity for this week. Found Object Faces!!! Found object art is art that is made from materials and objects that are not considered works of art on their own. It is often made from everyday objects. Your found object portraits can be assembled and made of anything you can find around your house. Your portraits can resemble robot faces, monster faces, silly faces, human faces, etc. The possibilities are endless. Have fun with it!
Your challenge this week...
Examine faces, what are the parts of your face? How far are things spaced on your face, try different spacing of your found objects when making your faces.
Tutorial on how to make your portraits (Make sure to ask your parents for approval on materials!)
Check out some of these found object artists
Bernard Williams - (First four minutes) youtu.be/bx_kvzvCRBo
What is Art Made Of? - youtu.be/ILNlJUdYyzI
Description of found object art - youtu.be/45mOeNFUK-Q
Extra challenge - What else can you assemble from your found objects?
Examples
|
|
|
|
|
|
|
Spring Break - 4/6 through 4/10
We hope you all enjoy your spring break. Enjoy drawing what makes you happy, color, draw things you see, draw things from nature or just spend time enjoying the art you see around you. Art is everywhere!
Check out the resources tab for information on projects to do at home.
Here are a few additional fun spring break activities...
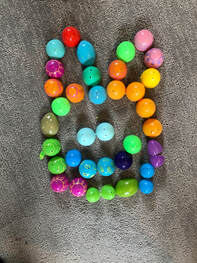
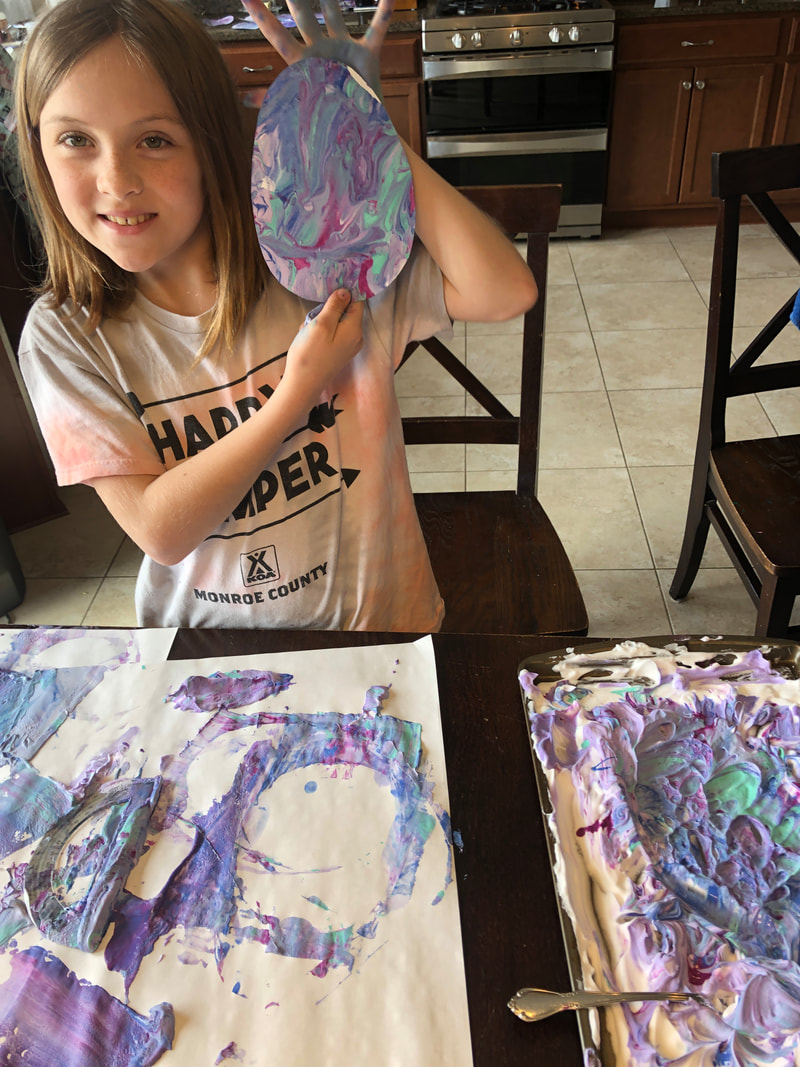
Shaving Cream Printmaking Paper Eggs or Decorative Papers
If you have extra shaving cream at home and either paint or food coloring this was a fun way to make marbled Easter Eggs for your windows. You can also use this technique to make decorative paper for cards, art paper, etc. This youtube video gives a good description of how to do this project.
https://youtu.be/cDzJD_HQ9Lk
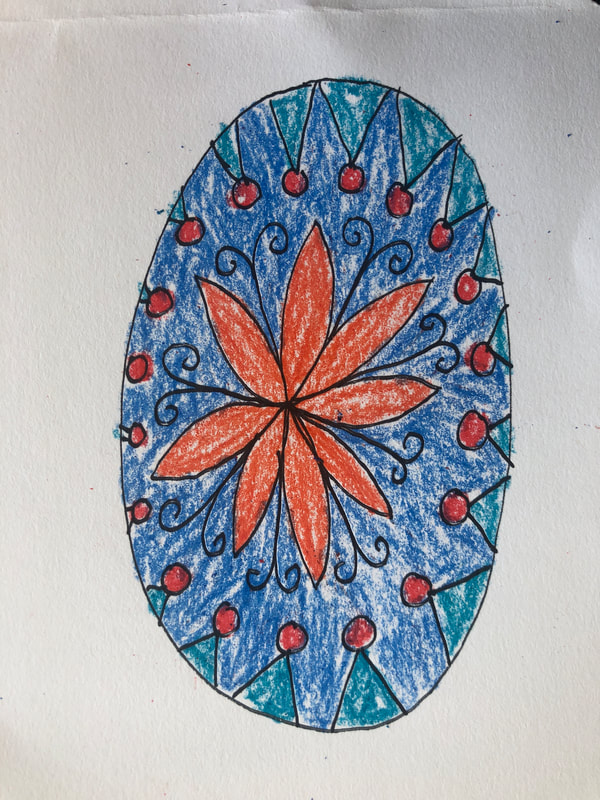
Pysanky Eggs
Draw an egg shape on a piece of paper (scrap paper, cardboard, art paper, post it, etc.) Use pencil, crayons, markers, etc. to draw patterns on your paper egg. By making this paper egg you can appropriate the Ukrainian egg painting tradition, Pysanky. Traditionally, Pysanky eggs are made from real eggs that are painted using a wax resist technique. You can a view very quick video on an artist creating one of these eggs here
youtu.be/L1xxHKOaZlo
An explanation on Pysanky can be found on here, it is in subtitles, students will likely need help reading this. youtu.be/KKBgFWo6JM4
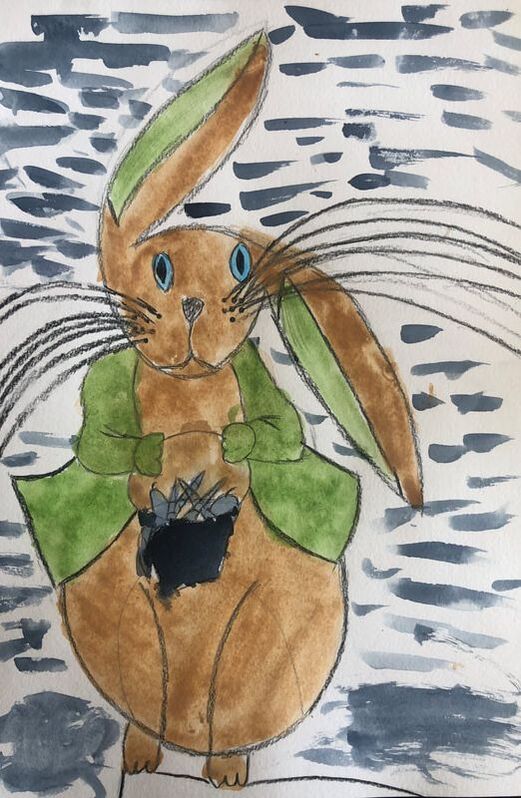
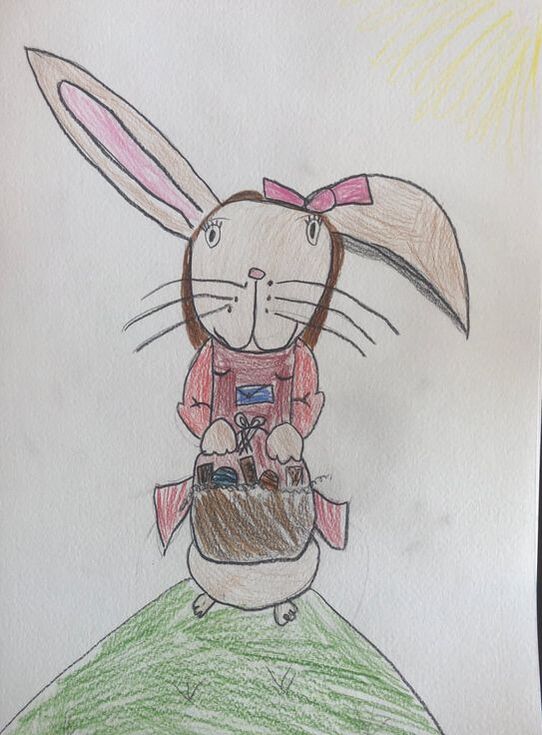
Peter Rabbit Drawing
The original story of Peter Rabbit by Beatrix Potter is a lovely story about a little rabbit and his family. However, there is also an important story behind the illustrator and author of Peter Rabbit. Beatrix Potter started drawing at a young age and often drew the family pet rabbits as her subject. She was not only the author and illustrator of Peter Rabbit, she was also the original publisher. At the time, no on would publish her story so she decided to publish 250 copies herself. Her story later became a best seller.
Check out a reading of Beatrix Potter's Peter Rabbit and while listening to the story enjoy the painted illustrations.
youtu.be/XMRsBSny_CM
Deep Space Sparkle offers a great tutorial for drawing Peter Rabbit. If you don't have paint at home this can be done in pencil, markers, crayons, etc.
www.deepspacesparkle.com/peter-rabbit/
Student examples!
Check out the resources tab for information on projects to do at home.
Here are a few additional fun spring break activities...
Shaving Cream Printmaking Paper Eggs or Decorative Papers
If you have extra shaving cream at home and either paint or food coloring this was a fun way to make marbled Easter Eggs for your windows. You can also use this technique to make decorative paper for cards, art paper, etc. This youtube video gives a good description of how to do this project.
https://youtu.be/cDzJD_HQ9Lk
Pysanky Eggs
Draw an egg shape on a piece of paper (scrap paper, cardboard, art paper, post it, etc.) Use pencil, crayons, markers, etc. to draw patterns on your paper egg. By making this paper egg you can appropriate the Ukrainian egg painting tradition, Pysanky. Traditionally, Pysanky eggs are made from real eggs that are painted using a wax resist technique. You can a view very quick video on an artist creating one of these eggs here
youtu.be/L1xxHKOaZlo
An explanation on Pysanky can be found on here, it is in subtitles, students will likely need help reading this. youtu.be/KKBgFWo6JM4
Peter Rabbit Drawing
The original story of Peter Rabbit by Beatrix Potter is a lovely story about a little rabbit and his family. However, there is also an important story behind the illustrator and author of Peter Rabbit. Beatrix Potter started drawing at a young age and often drew the family pet rabbits as her subject. She was not only the author and illustrator of Peter Rabbit, she was also the original publisher. At the time, no on would publish her story so she decided to publish 250 copies herself. Her story later became a best seller.
Check out a reading of Beatrix Potter's Peter Rabbit and while listening to the story enjoy the painted illustrations.
youtu.be/XMRsBSny_CM
Deep Space Sparkle offers a great tutorial for drawing Peter Rabbit. If you don't have paint at home this can be done in pencil, markers, crayons, etc.
www.deepspacesparkle.com/peter-rabbit/
Student examples!

|
|
|
|
|
Special Project - 3/30 through 1/3
This week we have a very special challenge for our GSD art students!
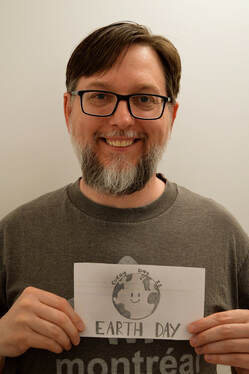
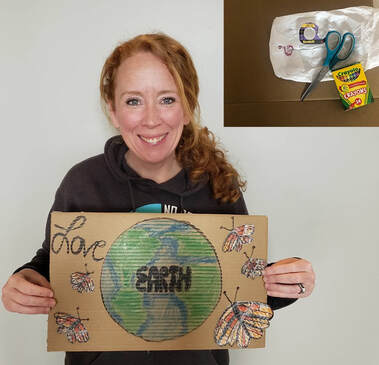
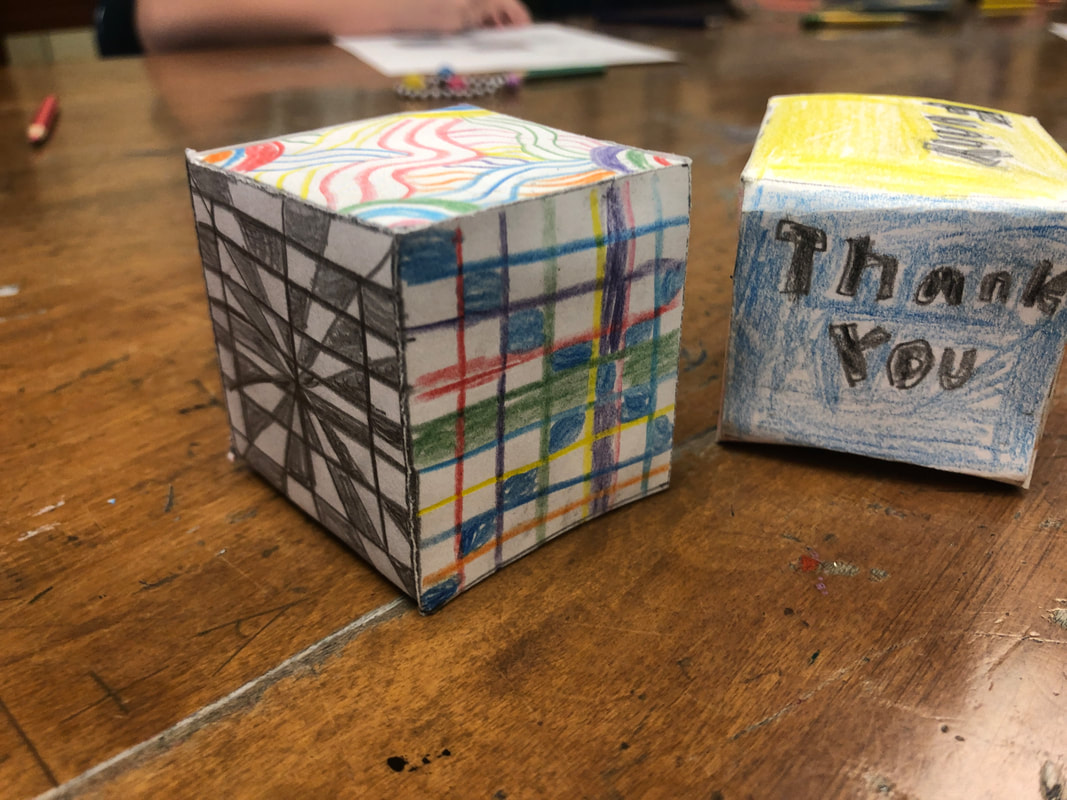
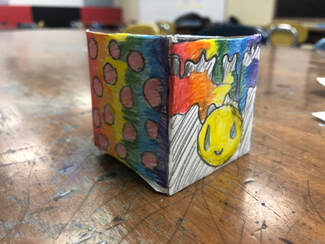
Artists make art for many different reasons. Cultural traditions, self expressions, to depict a narrative, record history, to express imaginative ideas, for their jobs, and many many more. One important reason some artists make art is to connect socially and support local communities. Community projects can spread kindness, lift spirits and connect people emotionally. This week we are going to create art that supports our local community.
While we doing our part to stop the spread of Coronavirus by staying home, we have many of our parents, grandparents, aunts, uncles and other family members in our Gibraltar communities that are still out there working. There are many jobs that are essential in supporting us and we are thankful for all that these workers are doing.
Your challenge this week...
First - Watch this video to see some of our essential workers. These are just a few of our GSD family members that are out there doing essential work.
https://youtu.be/hkCAOFTC9KM
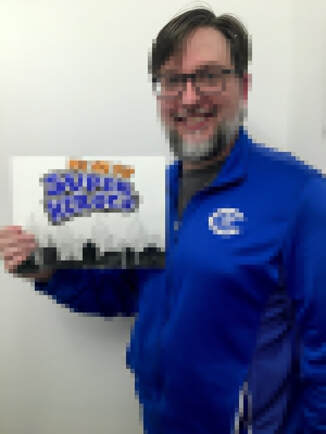
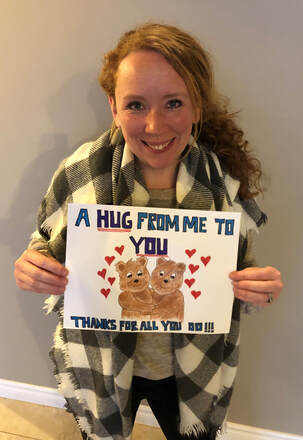
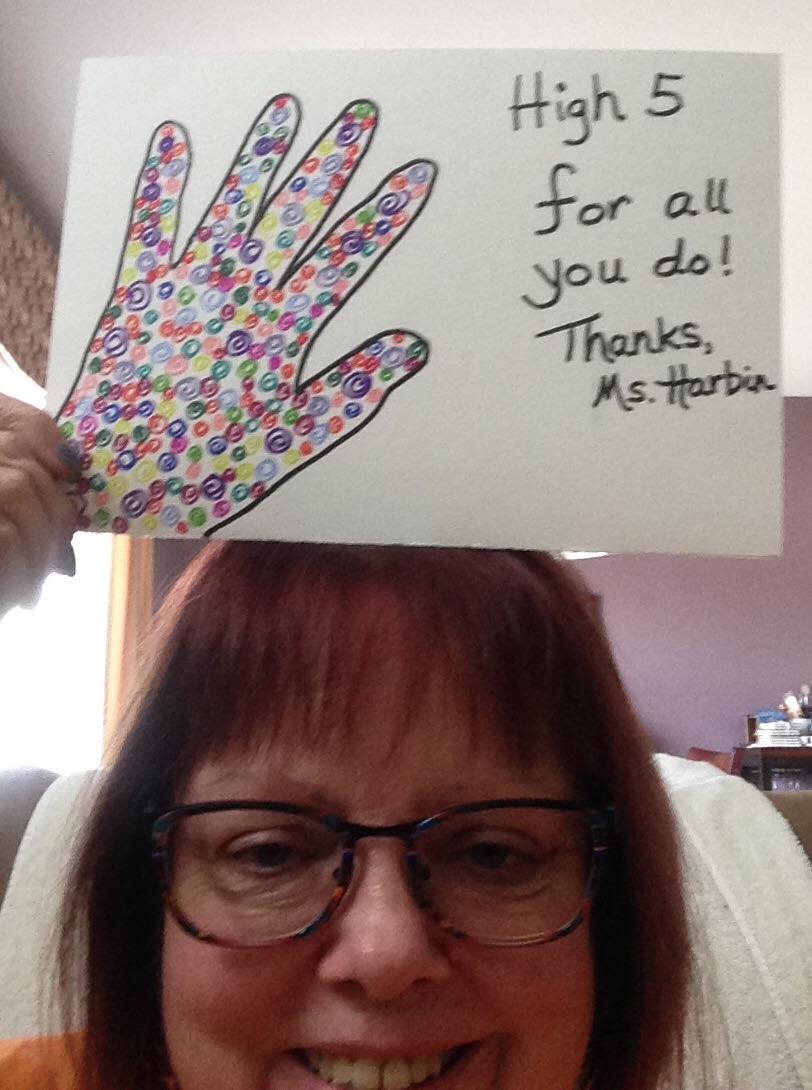
Second - Collect some art supplies and create a sign, poster or picture thanking these workers.
Last - Email a picture of your artwork or a selfie of you holding your art to [email protected]. In addition to emailing this to us, if you share on social media tag it with #GSDHeroes and #GSDPride
We plan to put the pictures together as a collective thank you video.
Ideas for your artwork (just to get the ideas flowing)
Drawing - Your drawing can be completed on cardboard, paper, newspaper, back of junk mail, lined paper, computer paper, backs of flyers, etc. Supply choices may include, markers, pencils, sharpies, crayons, colored pencils, etc.
Collage - A collage is an assemblage of items to create a new picture. Your collage could be made from magazine clippings, fabric, buttons, plastic tops, words cut from newspapers, etc.
Chalk Mural - if you have sidewalk chalk you could create a sidewalk thank you, make sure you take a picture before any rain
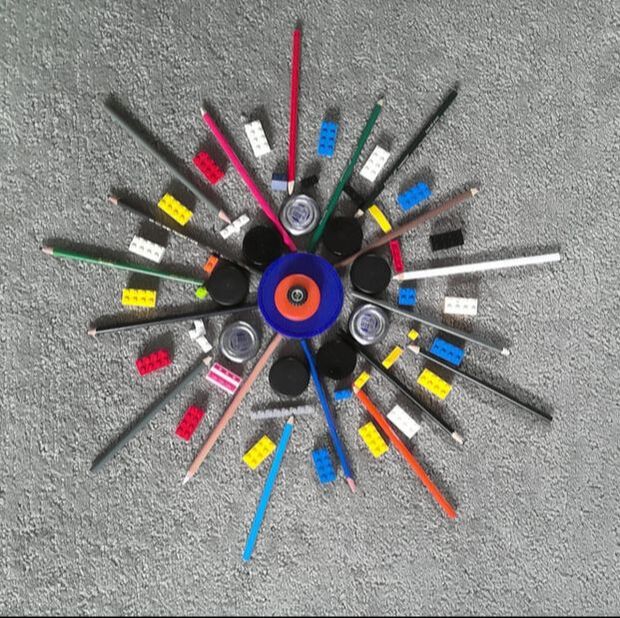
Legos/building blocks - Spell out words or make pictures using Legos or building blocks.
Artists make art for many different reasons. Cultural traditions, self expressions, to depict a narrative, record history, to express imaginative ideas, for their jobs, and many many more. One important reason some artists make art is to connect socially and support local communities. Community projects can spread kindness, lift spirits and connect people emotionally. This week we are going to create art that supports our local community.
While we doing our part to stop the spread of Coronavirus by staying home, we have many of our parents, grandparents, aunts, uncles and other family members in our Gibraltar communities that are still out there working. There are many jobs that are essential in supporting us and we are thankful for all that these workers are doing.
Your challenge this week...
First - Watch this video to see some of our essential workers. These are just a few of our GSD family members that are out there doing essential work.
https://youtu.be/hkCAOFTC9KM
Second - Collect some art supplies and create a sign, poster or picture thanking these workers.
Last - Email a picture of your artwork or a selfie of you holding your art to [email protected]. In addition to emailing this to us, if you share on social media tag it with #GSDHeroes and #GSDPride
We plan to put the pictures together as a collective thank you video.
Ideas for your artwork (just to get the ideas flowing)
Drawing - Your drawing can be completed on cardboard, paper, newspaper, back of junk mail, lined paper, computer paper, backs of flyers, etc. Supply choices may include, markers, pencils, sharpies, crayons, colored pencils, etc.
Collage - A collage is an assemblage of items to create a new picture. Your collage could be made from magazine clippings, fabric, buttons, plastic tops, words cut from newspapers, etc.
Chalk Mural - if you have sidewalk chalk you could create a sidewalk thank you, make sure you take a picture before any rain
Legos/building blocks - Spell out words or make pictures using Legos or building blocks.
Our Examples
|
|
|
4th and 5th Grade
Optional Assignment - 3/23 through 3/27
Hi Gibraltar friends, we hope you are doing well at home! We sure miss seeing you and creating art with you! To continue celebrating reading month we have a fun at home challenge for you this week.
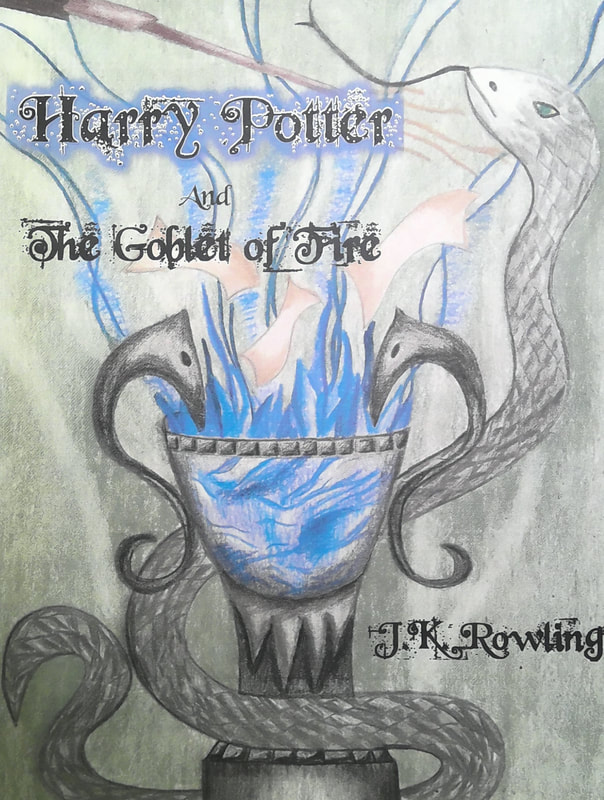
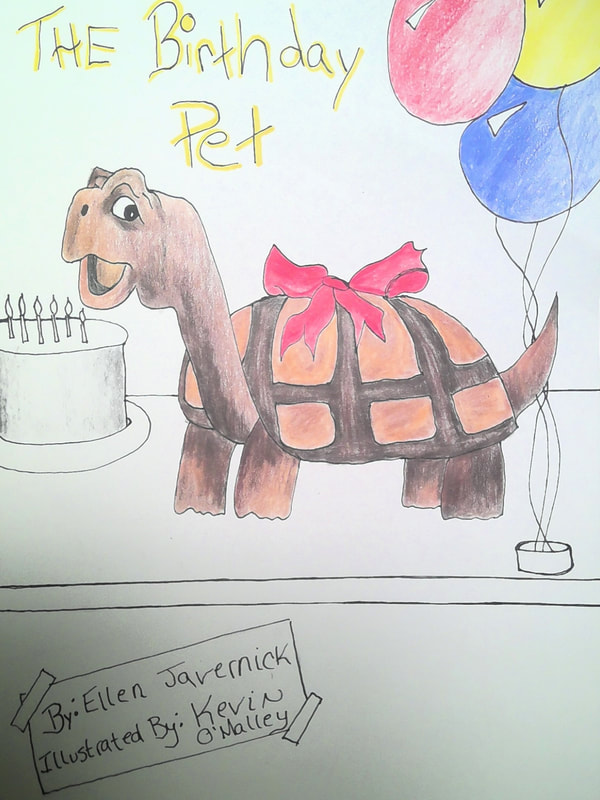
Create your own illustrated book cover!
We are captivated by books with unique and interesting pictures! The cover of a book can make a reader want to pick it up and find out more!
Here are the steps to complete your challenge.
First - Check out our lesson on creating an illustrated book cover here.
youtu.be/JTF2jbGpCqo
Second - Watch this short video from Christian Robinson on what it means to be an illustrator!
www.youtube.com/watch?v=BwnvmyCIFtg
Third - Answer some simple questions about your book cover. What is your favorite part of the story? What needs to be on the cover for the reader to want to pick up your book? How will you incorporate your text features into your design? (title, author, illustrator, etc.) What text feature should be the largest, the title or the author? Is your vision best communicated in color or black and white?
Lastly, draw your book cover. Remember you are unique and you have your own unique style! Be proud of your work!
Materials needed:
Drawing paper - any of the following will work - drawing paper, copy paper, notebook paper, scrap paper, backs of flyers, back of old homework, cardboard, junk mail, etc.
Drawing tools - any of the following will work - pencil, pens, colored pencils, crayons, markers, etc.
If you would like to add your text features in google docs., check back for the next tutorial!
We would love to see what you come up with! Post pics to our Facebook page Gibraltar Elementary Art or email them to us!
Our Examples....
|
|
Optional Assignment - Bookmark
To celebrate reading month check out this tutorial on how to make a bookmark using one point perspective. Decorate it with whatever materials you have available. This bookmark lesson uses a ruler. Students have been working in class on using rulers to make basic measurements. Students have been learning about a vanishing point needed create perspective drawings.
We encourage students to practice their measuring skills at home. Using a ruler, tape measure or homemade ruler, practice how to read a ruler. Students can measure books, boxes, papers, cards, pencil lengths, etc.
https://youtu.be/ZETG08HhLKw
See example below.
We encourage students to practice their measuring skills at home. Using a ruler, tape measure or homemade ruler, practice how to read a ruler. Students can measure books, boxes, papers, cards, pencil lengths, etc.
https://youtu.be/ZETG08HhLKw
See example below.
4th and 5th Grade Art
|
|
|
|
|
